Showing posts with label holiday. Show all posts

Monday, December 9, 2013

How To: Salt Dough Angels


When I was little, my Mom and I used to make salt dough ornaments for our Christmas tree. I made more when I went away to college, then again when I had a house and tree of my own as an adult.  This year, my kids and I made more salt dough angels together.  This is how we did it...

Here is a pdf file with the template we used for the cut-out portions of the angel pattern.  It includes the dress, wings and halo.  The head, legs and hands can be rolled and shaped free-form.


First, cut out the various parts of the template.


Then roll out your salt dough so that it's about 1/8-1/4 inch thick.  We used a proportion of 2 parts flour to 1 part salt and 1 part water.  We put parchment paper down on the table to keep things clean and make the rolling easier.


Next, cut out the dress body, dress arms, wings and halo using a tool with a thin edge (like a butter knife).


It's hard to be very precise when cutting out the "feather" detail on the wings, so we went back over them with a toothpick to shape them more.


To make the angels look more 3-dimensional, we added an actual body underneath the clothes, like this.  Then we placed the dress body and sleeves on top.


The sleeves get folded over and a small oval ball of dough becomes the folded hands and helps hold the sleeves in place.


The part my kids liked doing best was adding the hair.  We used a garlic press to squeeze out long strands of salt dough, then used toothpicks to shape them around the head, which is the last part to be added.  It's also a good idea at this point to poke a hole or two in the place where you plan to hang a string from.  We poked two holes in the halo to run string through later.


Here's my 11 year old daughter's angel.


And my 7 year old daughter's...


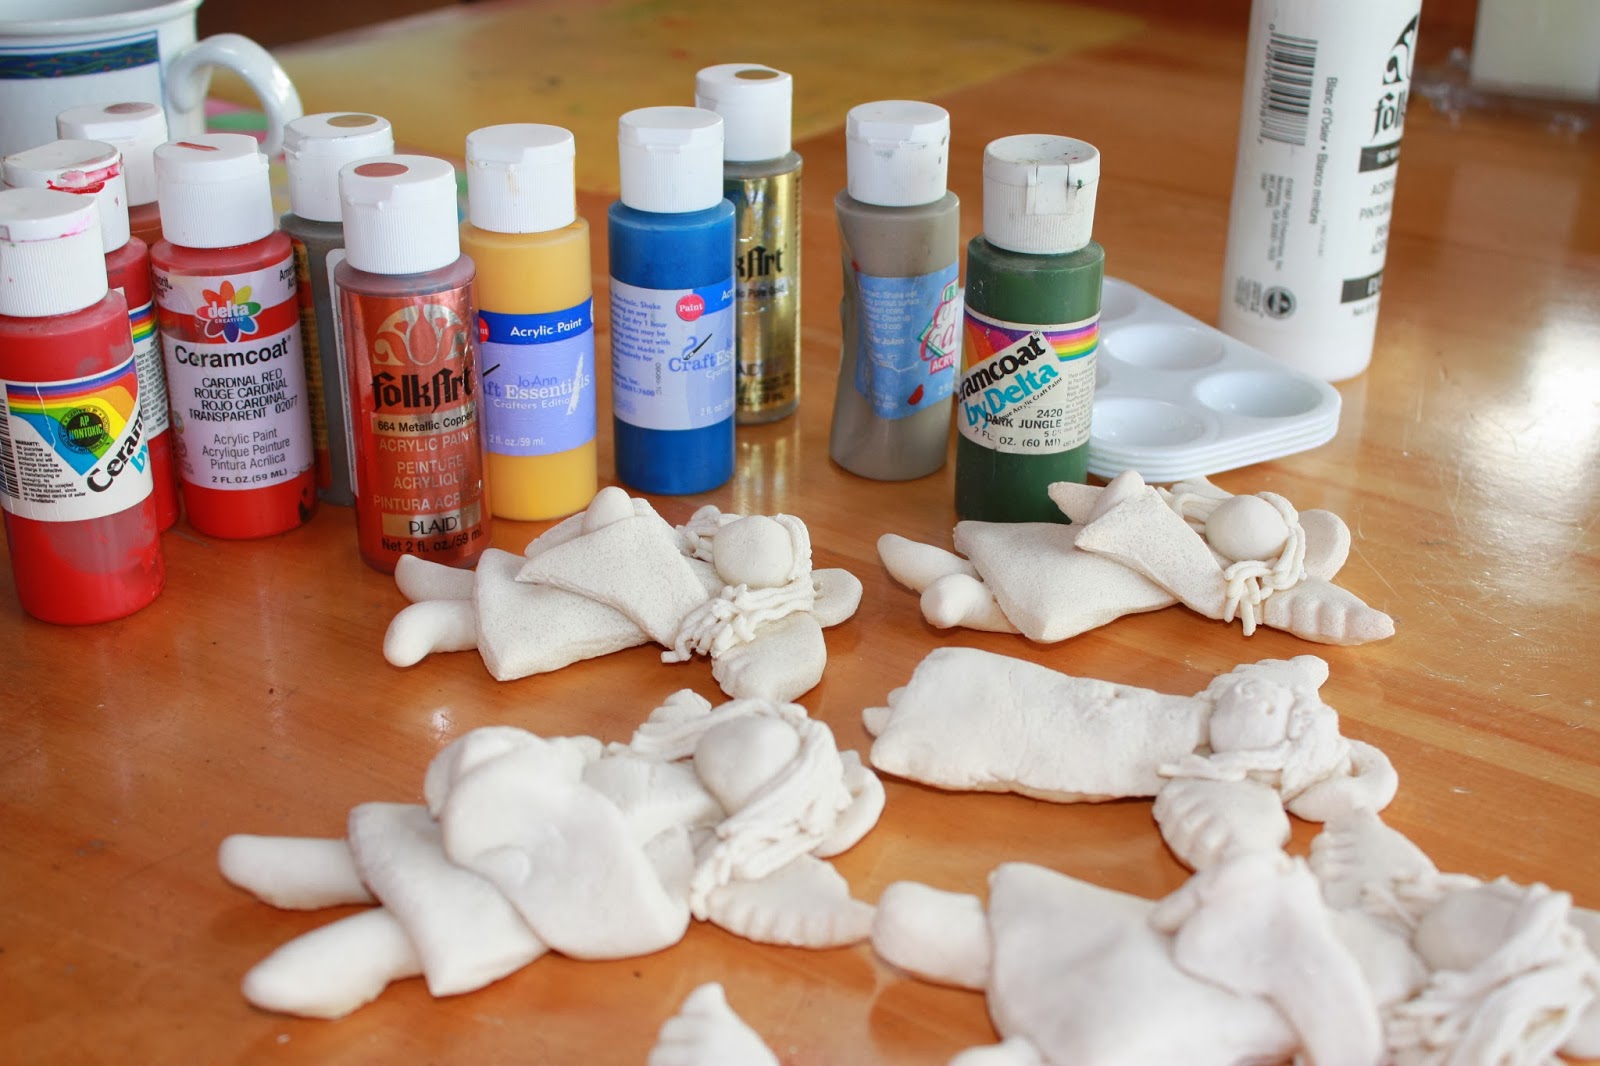
We put them all in the oven on a low temperature (275 degrees) for 60 minutes, or so, to dry them out.


After they are completely dry and cool, they can be painted.  It's a good idea to seal them with some sort of spray varnish after they are decorated, since this keeps additional moisture from penetrating the dough and making them soggy.

Voila!


Sunday, November 3, 2013

Winter Solstice Soap

In all the mad hurrying and scurrying to get ready for the holiday sales season, I made a blunder on one batch of soap.  I accidentally added the essential oils from two different varieties to the same batch.  Happily, it turned out to be a lovely mistake.  It's a little like those old Reese's Peanut Butter Cup commercials from the 1980s where two people run into each other on the sidewalk and chocolate and peanut butter collide...a wonderful accident.

Winter Solstice Soap is made with honey, beeswax and the oils of frankincense, myrrh, clove and orange.  It's warm and spicy and sweet, all at the same time.  It's a perfect winter scent.

I wanted to choose label art for it that made folks think of the cozy glow of candles in the long, dark winter.  I chose today (Daylight Savings Day) to make it available because I think there's lots to love in this stretch of time until the Winter Solstice on December 21st.  The darkness of the longest night is always lifted by candlelight.  

Thanks to the Graphics Fairy for this great image.
Each bar is individually wrapped and labeled for gift-giving.  There is only one batch, so don't miss out!

Saturday, December 1, 2012

How To: Yule Nissen Ornaments


Now that December is here, Christmas decorating can begin in earnest.  Our Christmas tree is always decorated in a traditional Nordic style, with glossy red apple ornaments, straw stars and pinecones, and little red Yule Nissen (Christmas elves).   Another name for these friendly folks is Tomten.  One of our favorite books to read at this time of year is a classic Astrid Lindgren tale called The Tomten and the Fox.  We love it.  We have little Tomten and Nissen all around our house, and decided recently to make some more ourselves to add to the tree and give away as gifts.
What you need:
·         small pinecones--we picked ours this summer on a trip to the ranch
·         wooden beads
·         jute string or yarn--for hair
·         paint, permanent markers or fingernail polish to decorate the eyes
·         felt fabric squares
·         tiny jingle bells
·         scissors
·         glue gun
·         needle & thread

To start, paint a face on your wooden bead.  I used blue nail polish and strung a whole line of beads on a shish kabob skewer to make it easier to hold and dry them.  Next cut your felt fabric into circles, then into quarter circles.  Take one quarter circle and sew the two straight edges together, creating a little cone shape.


Sew tiny jingle bells to the tips to make teeny tiny hats.


Use a hot glue gun to attach a wooden bead face to the stem end of your pinecone. 


Glue hair to the top of the wooden bead face using the hot glue gun.  We tried lots of different styles: braids, long and straight, short and fuzzy.  If you’re using jute twine, you can get a more hair-like effect by unraveling the strands in the twine.  This whole step can actually be done either before or after the face bead gets attached to the pinecone…whichever works best for you. 


Cut long strips of felt fabric and glue them around the “neck” of your nisse as a scarf.  This also, conveniently, covers up any unattractive glue globs that might have developed when you attached the head.
Last, glue a hat on top of your nisse’s head and attach a string for hanging.  If you’ve done this project with kids, I also recommend finding a place where they can attach their name and the date they made the ornament.  I still have Christmas creations that go up on our tree that I made when I was in kindergarten.  It’s great to make memories.